Tiling How To: 9 things you should know
It is important to prepare a surface in the best way possible before tiling. There are several ways to prepare a bumpy or uneven surface for tiling, the most common way is by using a self-leveling compound. Besides preparation, you will come across areas that require specific techniques to ensure a quality finished look during the tiling process.

Throughout this article, you will learn about the curing time a mud bed requires before tiling, and you will learn techniques to tile up to carpet and stairs effectively.
Contents
- 1 How long should mud bed cure before tiling, some helpful tips:
- 2 Tiling up to the carpet, some helpful tips:
- 3 Tiling an upstand, some helpful tips:
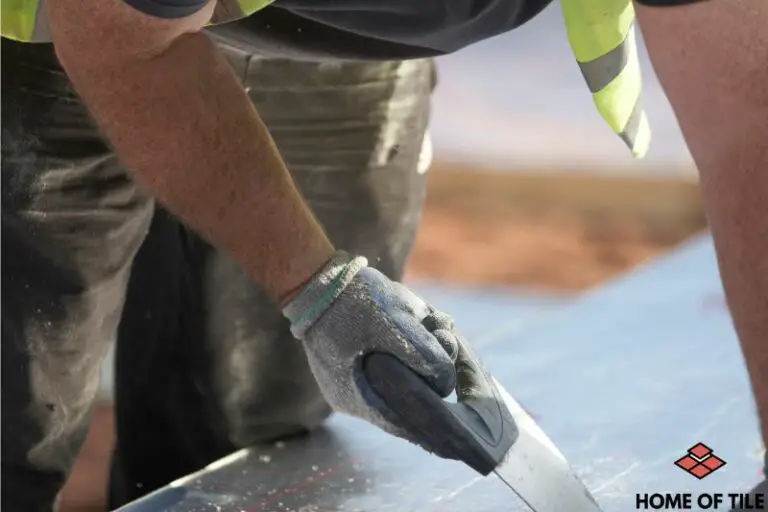
- 4 How to float a floor before tiling, some helpful tips:
- 5 Tiling steps stairs, some helpful tips:
- 6 How to clean tiles after tiling, some helpful tips:
- 7 Tiling up to skirting board, some helpful tips:
- 8 Tiling with no gap, some helpful tips:
How long should mud bed cure before tiling, some helpful tips:
In general, a mud bed will take up to 28 days to fully cure. Depending on the type, I would wait at least 3 days before to start tiling. If you want stronger concrete, cover the mud bed with some burlap or plastic, and keep it moist. The cure time will be longer, but the concrete will be stronger. The exact curing time of the mud bed is dependent upon temperature and humidity. Avoid any traffic on the surface of the tiles during that time.
To increase the strength of the concrete, you can cover the finished concrete with some plastic. This keeps the moisture from evaporating quickly. The concrete continues to use the water in its chemical reaction, which makes it stronger. If the moisture evaporates too fast, there is no more available water for the reaction to continue. And the concrete doesn’t get as strong as it could. I recommend using burlap and add some moisture several times a day. Using plastic can leave patterns on the mud bed.
Certain factors affect the mud bed’s drying time, and by controlling these factors, you can speed up the drying process.
● Speed up drying concrete 1: Ventilated Environment
If you are looking to speed up your tiling project, it is necessary to provide optimal conditions for the mud bed to have a faster drying process. Create a ventilated and warm environment for the mortar to dry as quickly as possible. Remark: like just explained, this does not result in the most robust concrete.
The maximum time a mud bed takes to be cured entirely is 28 days. However, you can reduce that time as just explained. If you are planning to move heavy furniture over the floor on which you are tiling or if there will be heavy foot traffic, I also recommend you to wait at least 4-5 days after laying tile.
● Speed up drying concrete 2: Temperature and Humidity
The most important factors that affect the drying time of mud beds are temperature and humidity. The higher the outside temperature, the less time the mud bed will take to dry. Similarly, if you are tiling in the area where your mortar is experiencing an unusual amount of moisture, it will slow down the drying process. The ideal drying temperature for the mud bed is around 68 Fahrenheit (20 Celsius), with a humidity level of 60%. You can also decrease the drying time of the mud bed by using an underfloor heating system if you have one.
After grouting between the tile joints, you should wait at least another 24 hours for the tiles to be properly secured. Moving over the tiles before the grout has cured will lead to breakage and cause the tiles to move. To be on the safe side and reduce the risk of breakage, wait 48 hours. If you are tiling in a large room, divide the room into equal quadrants and fill them individually.
Tiling up to the carpet, some helpful tips:
In general, when tiling your floor up to the carpet you have three options:
- The tuck-in method using a tack strip
- The Z-bar transition method using a Z-bar
- Installing tack strips to the sub-floor
The tiles and carpet that meet each other need to be covered carefully to avoid tripping hazards when walking across the different floorings. There are several techniques mentioned below that you can follow for an easy tile to carpet transition:
● Tiling up to the carpet Method 1: Tuck-In method
The most common method that is used when tiling up to a carpet is the tuck-in method. If you have an already installed carpet, you will need to remodel the existing carpet when the tiles reach the edge.
For tiling up to the carpet, install a tack strip of about ¼ inches at the edge of the tiles. For the transition between the tiles and carpet, cut the edge of the carpet. So it settles properly with the edge of the tiles. Pull the carpet over the top and tuck in under the gap between the tiles and carpet. When cutting the carpet, make sure to cut it a few inches more for it to fit under the hooks of the transition strip.
● Tiling up to the carpet Method 2: Z-bar transition method
For tiling up to the carpet, you can also follow the Z-bar method. The main advantage of using this method is that it hides the cut edges of the carpet to prevent it from being pulled out.
Attach a Z-bar with the edge of the tiles and tuck the carpet edges under it. This method of tiling up to the carpet is most effective if the carpet is already installed.
● Tiling up to the carpet Method 3: Installing tack strips to sub-floor
When tiling up to a carpet over a concrete floor you should install a tack strip at the edges using an adhesive to mount it into place. Do not use nails or screws to mount this strip, as it will ruin all your hard work. However, you can install it using specialty glue to take less time to dry.
Repeat the same procedure as discussed above to tuck the carpet under it and leave ¼ inch spacing between the tiles and carpet edge.
Tiling an upstand, some helpful tips:
A tiling upstand is a strip that helps to provide a watertight finish between the shower the tiled wall. It should be installed in the desired location in one piece. Remove any shielding film from the shower tray or bath. Install the strip over the surface using a silicone sealant. Press firmly against the tray to ensure that it settles appropriately and removing any excess silicone sealant under the upstand strip.
A tiling upstand is essentially a sealing strip with a pre-applied adhesive used to bond the strip with a shower tray. A tiling upstand ensures that the joints are sealed to protect against leaks that result from sealant failure (in case you only use a sealant). This strip is installed between the bath or shower walls and tile. A small part is extending above the ledge. That is the part where you can start laying tiles on.
How to float a floor before tiling, some helpful tips:
Generally, floating a floor means adding a layer on the substrate that is not attached to it. In practice, this means adding something like Ditra or a cement backer board (or both) to the floor. Alternatively, you can use a thick mortar bed reinforced with metal mesh. But this adds much more weight and height to your floor.
To float a floor with Ditra before tiling, you need to follow these simple steps:
● Step 1: Prepare the surface
The first step is to prepare the substrate. Clear it from dust and debris. Remove as much of the glue, adhesive, tar, resin, and paint as possible. If the substrate contains larger holes or cracks, fix them.
● Step 2: Cut the Ditra to the correct size
Cut the Ditra mats to the needed size. Dry lay them on the floor to check that they cover the whole floor.
● Step 3: Apply the adhesive
Add a suitable adhesive to the floor. If you have a wooden substrate, use a sponge to dampen the floor first. This helps to create a solid bond.
● Step 4: Add the Dirtra mat
Place the Ditra mats with the fleece side down on the thin-set. Push the Ditra slightly into the thin-set so that the adhesive will have a 100% cover. Use some thin-set and Kerdi band to cover the joints and make them waterproof. Use some proper sealant to seal the parts where the Ditra mats touch the bath or the shower. If needed, you can also add some Kerdi Band partly on the floor, partly on the side. So those areas will be even more waterproof.
Remark: The floating floor is now ready for tilling. Use similar steps for other materials like cement backer board.
Tiling steps stairs, some helpful tips:
In general, I only advise to tile a stairs when it is stable and does not flex when used. I recommend starting from the top step and work your way down. Measure the length of the top step and divide it in half to find the center point. Snap a straight line at the given length and do a dry test by placing the first whole tile at the center. Then, lay tiles at both sides of the centerline to give a more balanced look to your tiles. The cut part of the tile should be in the inner corner.
Before starting to lay tiles, prepare the substrate. Fill any cracks and holes using a compound filler. After establishing a layout, dry test it. Take into account the grout joints. Mix the tile mortar according to the manual’s instructions and spread it over the surface using the trowel. Fix the tiles over the adhesive and wait until the adhesive dries. Then, grout the joints and clean the top of tiles with a wet mop.
In the case of wooden stairs, you have two options that can be followed to tile over them. The first is to fix the tiles directly over the wooden stairs with the help of flexible glue. Or you can install a backer board to the stairs and then fix the tiles. The problem with tiling wooden stairs is that the stairs always flex a little bit when you use them. This makes the tiles of the tile joints very vulnerable to cracking
How to clean tiles after tiling, some helpful tips:
Generally, I recommend cleaning the tiles right after installation. The adhesive will still have moisture content available, and you can clean them using a wet sponge. If the adhesive is set, you will need to use a diluted mixture. For this purpose, mix a small amount of vinegar with water and carefully wipe it over the ceramic or porcelain tiles.
Do not use the given diluted mixture of vinegar and water on stone or porous tiles because the acidity can damage them.
Tiling up to skirting board, some helpful tips:
To tile up to skirting boards, start to lay tiles from the most prominent area of the room. Allow a gap of at least 1 inch for extra movement and sealing. Draw a straight line around the room so that the skirting lines up. Start adjusting the tiles up to the skirting board and fix the cut tiles at the corner or around the obstacles where they are least noticeable.
Tiling with no gap, some helpful tips:
In general, tiling with no gap needs special rectified uniform tiles. Those tiles are even in size with straight crisp edges. If you use those vitrified tiles in a wet or moisture environment, ensure that the substrate is waterproof. I recommend using tiles that have been rectified to 0.0025 inches in variance or less. If larger, there is a chance that you have a small grout joint.
Remark: Most people think that tiles are waterproof and that water can not pass through them. But even when using grout, this is not true. Water can always migrate through the tile. Of course, this is not in large quantities, but enough to damage the substrate over time. That is why you should always waterproof the substrate for wet or moisture areas.