How To Change Grout Color. What professionals say
So you’ve decided that your grout color has seen better days, and it’s time for a change. But what are your options? Stick around as we explore the most effective method for changing grout color.
The easiest way to change grout color is to paint it. The process is similar to painting walls. Start by prepping the grout to remove any dirt or residue, then apply two or more coats of paint once the surface is clean and dry. After the paint dries, you can buff the tile to give it a nice shine.
This article provides an overview of how to change grout color. I will go into more detail about the supplies you need and the steps involved. Let’s get started!
Contents
Step 1. Scrub the Grout
Before you embark on changing your grout color, you need to gather some supplies. These are the supplies you will need:
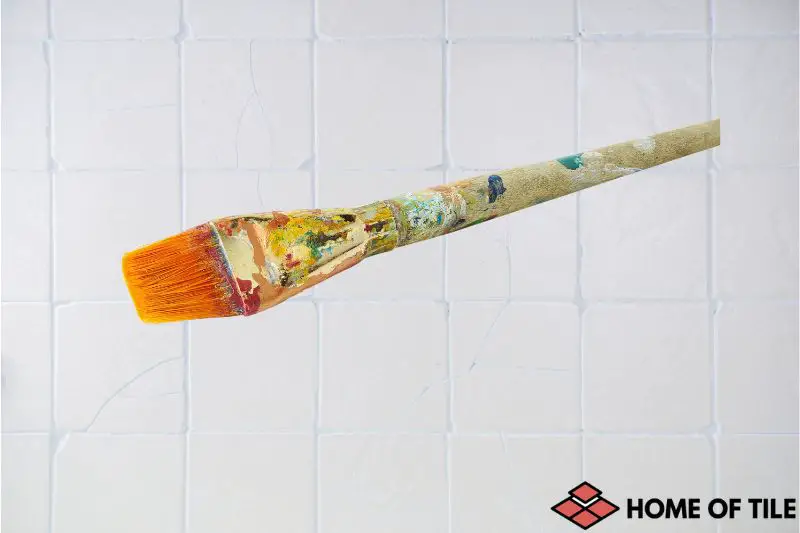
- Foam brush
- Grout paint
- Heavy-duty tile and grout cleaner
- Brush (tiny brush for scrubbing)
- Bucket
- Sponge
- Tile sealer (optional)
Once you get everything you need, you can now get started with step 1.
Like with any other paint job, the quality of the finish depends on the quality of the prep work. That’s why the first step is to scrub the grout clean. This will eliminate any dirt, grease, or residue that might prevent the paint from sticking properly.
You can use a heavy-duty tile and grout cleaner for this step. Or you can make your own cleaning solution by mixing 1 part water with 1 part vinegar.
If you go the DIY route:
- Step 1. Use a spray bottle: Put the solution in a spray bottle and spritz it on the grout.
- Step 2. Use a toothbrush: Use an old toothbrush or other small brush to clean the grout.
- Step 3. Rinse the area: Rinse the area with clean water once you’re done.
However, it is worth noting that a heavy-duty tile and grout cleaner needs a couple of minutes to soak into the grout. And this can be particularly challenging when cleaning a vertical wall. In this case, you will need to put your cleaner in a bucket and dip the brush as you clean.
If you are cleaning floor tiles:
- Step 1. Apply the cleaner: Pour the grout cleaner and agitate a bit.
- Step 2. Wait 5 min: Let it sit for about 5 minutes.
- Step 3. Scrub the grout: Come back and give the grout a good scrub. The cleaner will have had time to do its job, and the grout should scrub up easily.
Step 2. Let the Grout Dry for 20 – 30 Minutes
I know this might sound obvious to the seasoned DIYer, but it is important to let the grout dry completely before painting. If there is any moisture, the paint will not adhere properly, and you will be back to square one.
The waiting time depends on your home’s temperature and humidity. However, the general idea is to let the grout dry for 20 to 30 minutes before applying paint.
You might also want to open the windows or use a fan to help speed up the drying process. Just make sure there is no chance of any dust or debris blowing onto the grout while it dries.
Step 3. Time to Paint!
Now that the grout is clean and dry, it’s time to start painting. You can use a regular paintbrush for this step. However, I find that a foam brush works best since it gives you more control and prevents streaks.
Start by painting a small section of grout at a time. Work the paint into the grout line, and be sure to get good coverage and avoid any bare spots. Once you’ve finished painting a section, move on to the next one and continue until you’ve covered all the grout lines.
You also want to buff the excess paint off the tiles with a scrub sponge tool. Otherwise, the paint will dry, and you’ll be stuck with a big mess. For best results, buff horizontally (to the grout lines).
Step 4. Let the Paint Dry for 24 Hours
The paint needs time to dry and cure properly. Therefore, be sure to let it dry for at least 24 hours before walking on the floor or using the shower. However, this is only applicable if you have another bathroom in the house.
Most professionals recommend waiting 48 hours before using the shower during winter because the humidity in the air can result in longer drying times. This is why it is always best to paint grout during summer. The warm and dry air will help speed up the drying process.
Step 5. Apply a Second Coat (Optional)
This step is optional and only applies if you want to add extra protection or paint over a light-colored grout. In that case, you might want to apply a second coat of paint. Just be sure to let the first coat dry completely before applying the second.
Step 6. Seal the Grout (Optional)
Once the paint is dry, you might want to consider sealing the grout. This is not strictly necessary but it will help extend the life of your newly painted grout and make it easier to clean in future.
I prefer getting good quality paint that includes a sealer. However, you can also buy a separate sealer and apply it after painting the grout. Just be sure to follow the manufacturer’s instructions carefully.
The application process is the same as before:
- Step 1. Start small: Start by painting a small section of grout at a time.
- Step 2. Apply the sealer: Work the sealer into the grout line, and be sure to get good coverage and avoid any bare spots. Once you’ve finished sealing a section, move on to the next one.
- Step 3. Repeat: Continue until you’ve sealed all of the grout lines.
You also want to buff the excess sealer off the tiles with a clean cloth. Otherwise, it will dry and become difficult to remove.
Final Thoughts
So there you have it! You now know how to change grout color. Remember to take your time and do a good job, and you’ll be rewarded with beautiful, long-lasting results.
The issue with grout paint is that it can be difficult to find a good quality product, especially if you are not experienced. However, if you take your time and do some research, you should be able to find a paint that will give you great results.